Align Comparison
The alignment process is distinct from editing and can be accessed through the Edit menu located at the top left-hand corner of the document viewer. This feature ensures that compared files are properly aligned for accurate results.
Accessing the Alignment Tool
-
Edit Menu:
- Click on the Edit menu in the top-left corner.
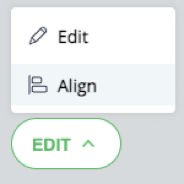
- Select the Align option from the expandable list.
-
Align Mode Activation:
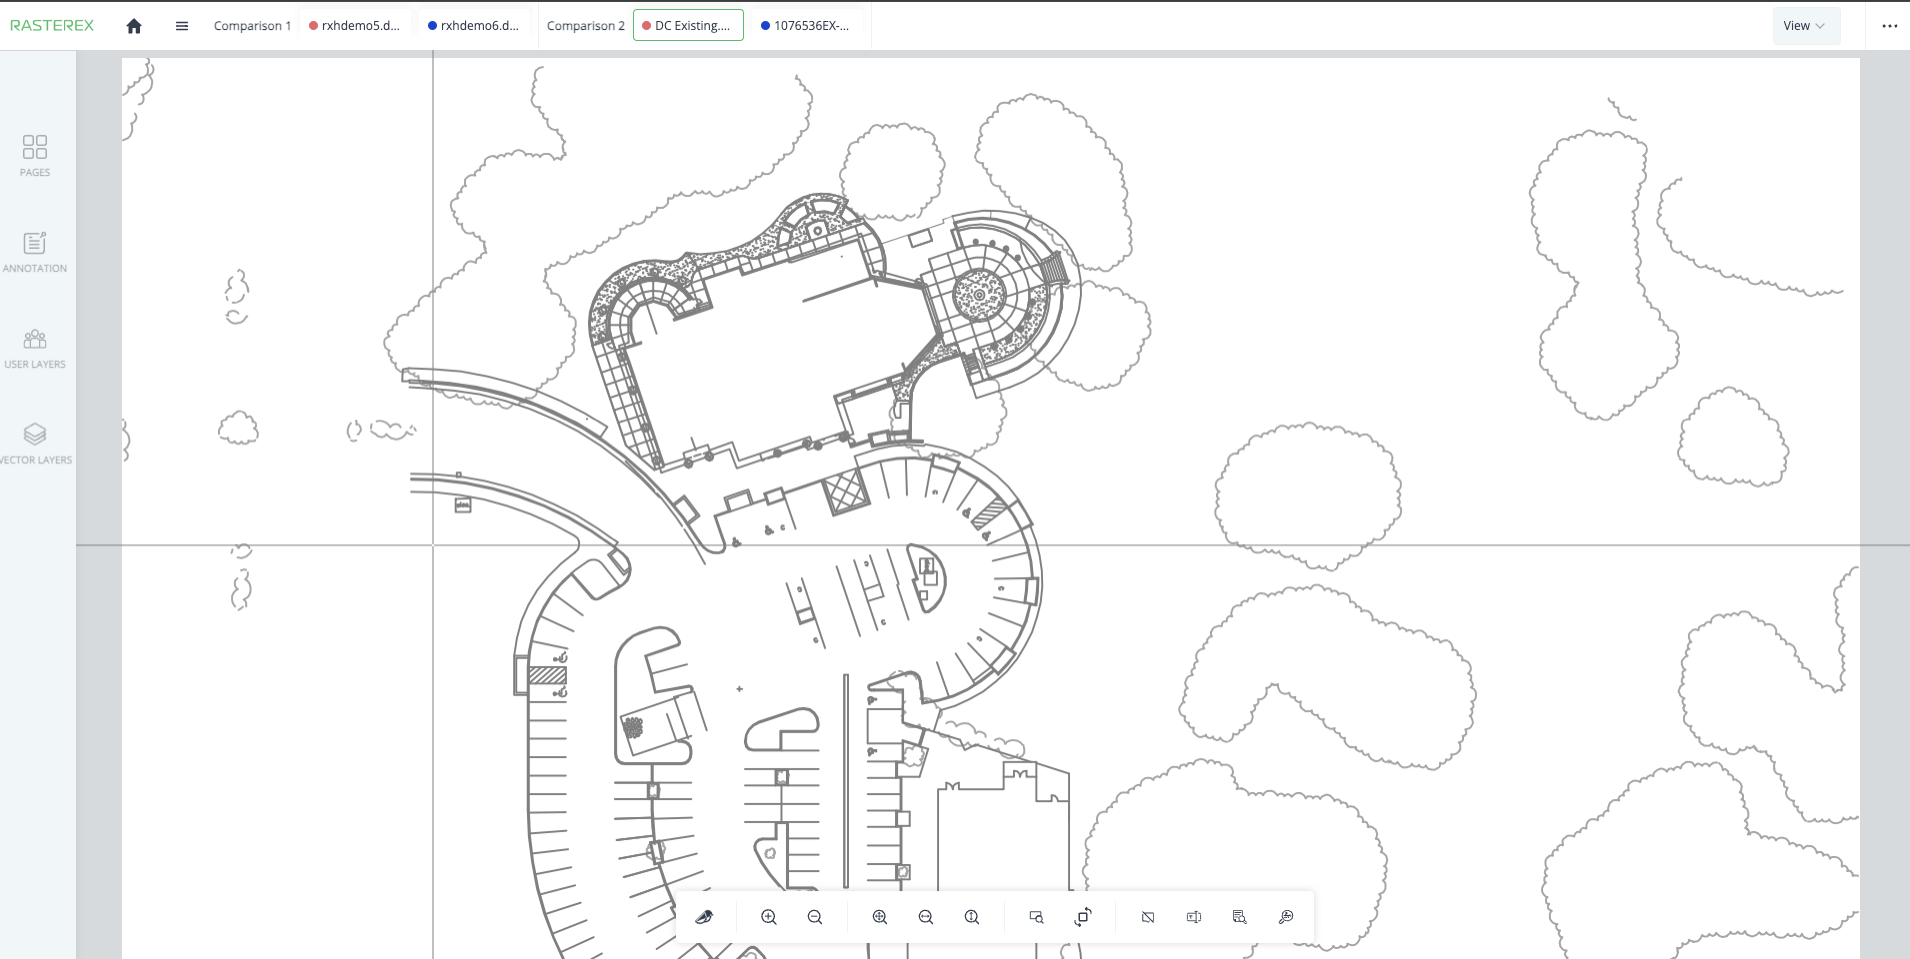
- Upon activation, the viewer displays each document in a row, enabling users to utilize the alignment tool to set points for improved comparison.
Using the Alignment Tool
-
X and Y Axes:
- The tool features X and Y axes along with a central square indicating where the first alignment point should be placed.
- Users can choose any part of the drawing they consider essential for alignment.
-
Snap Feature:
- The square can snap to various parts of the drawing, enhancing precision and ensuring accurate placement of alignment points.
-
First Alignment Point:
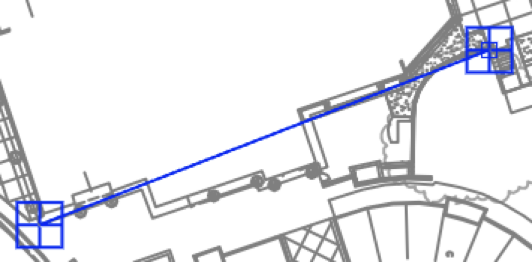
- Set the first point on the first document.
- The tool then requests the next alignment point, creating a line used as a reference for alignment.
-
Second Alignment Point:
- Repeat the process on the second document to complete the alignment.
Generating Aligned Comparison
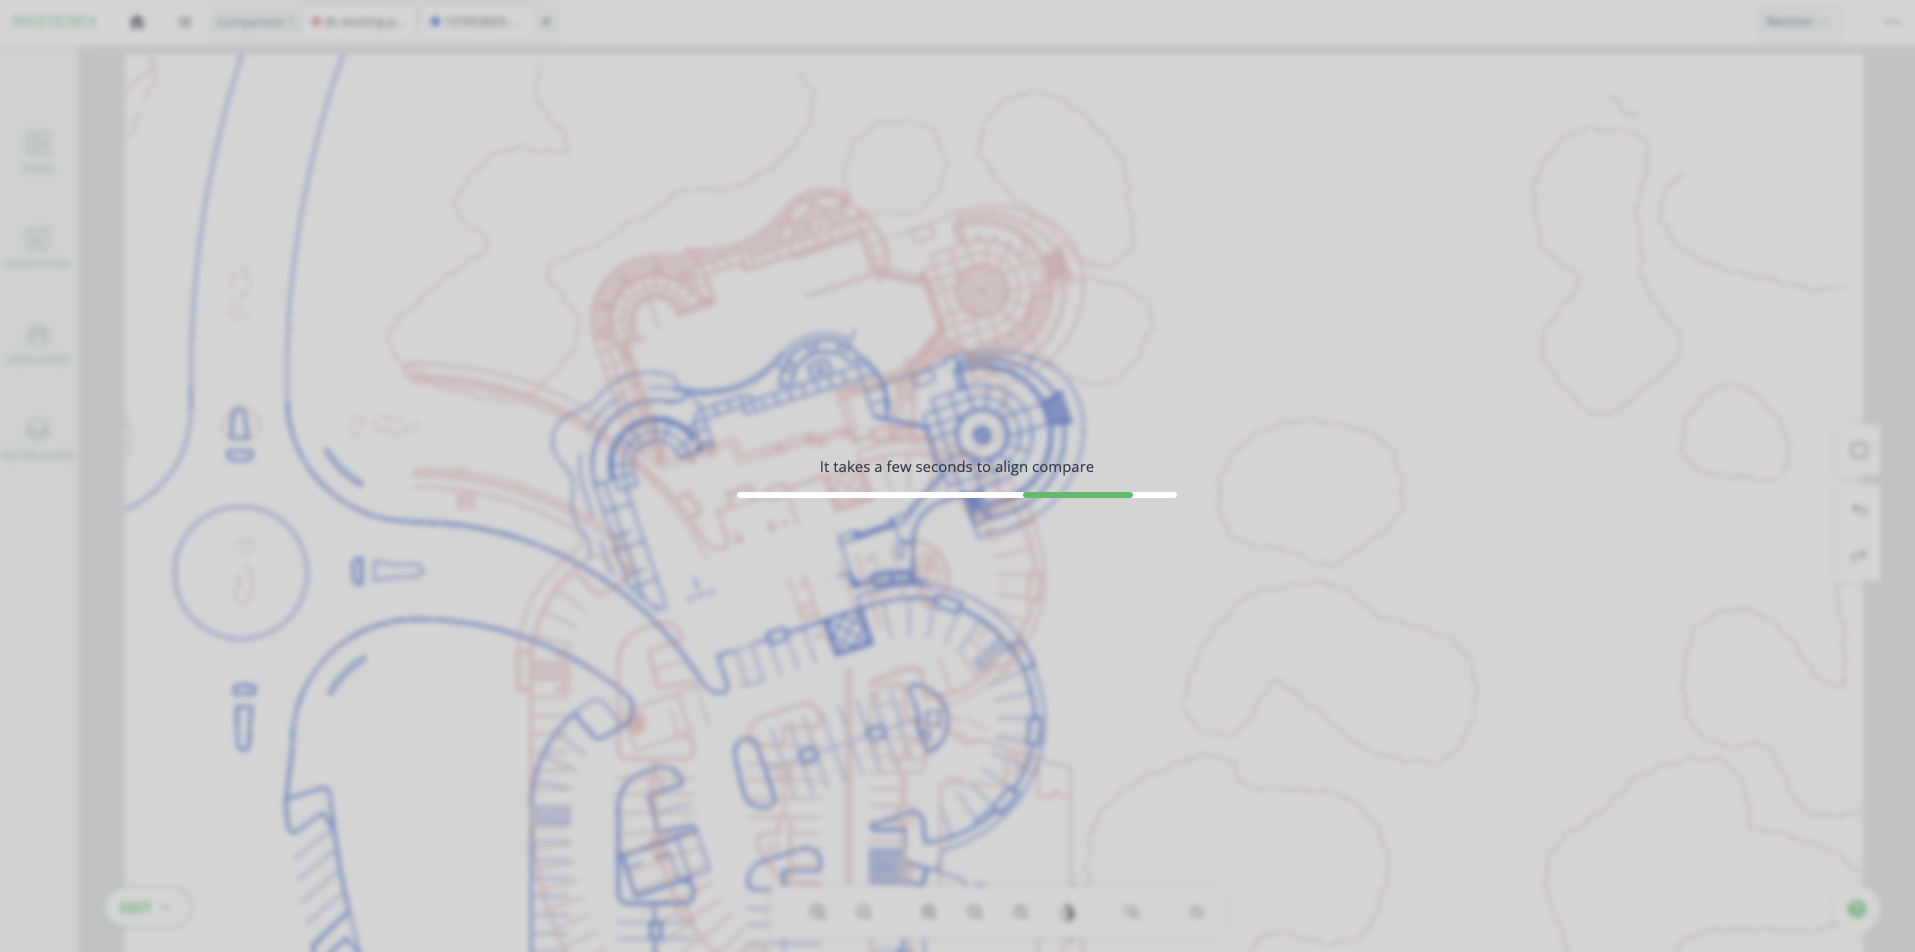
- Once all points are set:
- The comparison is regenerated with the updated alignment.
- The UI is locked and a progress bar displays the alignment process.
- Upon completion, the newly aligned comparison appears in the viewer, and the loader is dismissed.
Additional Alignment Options
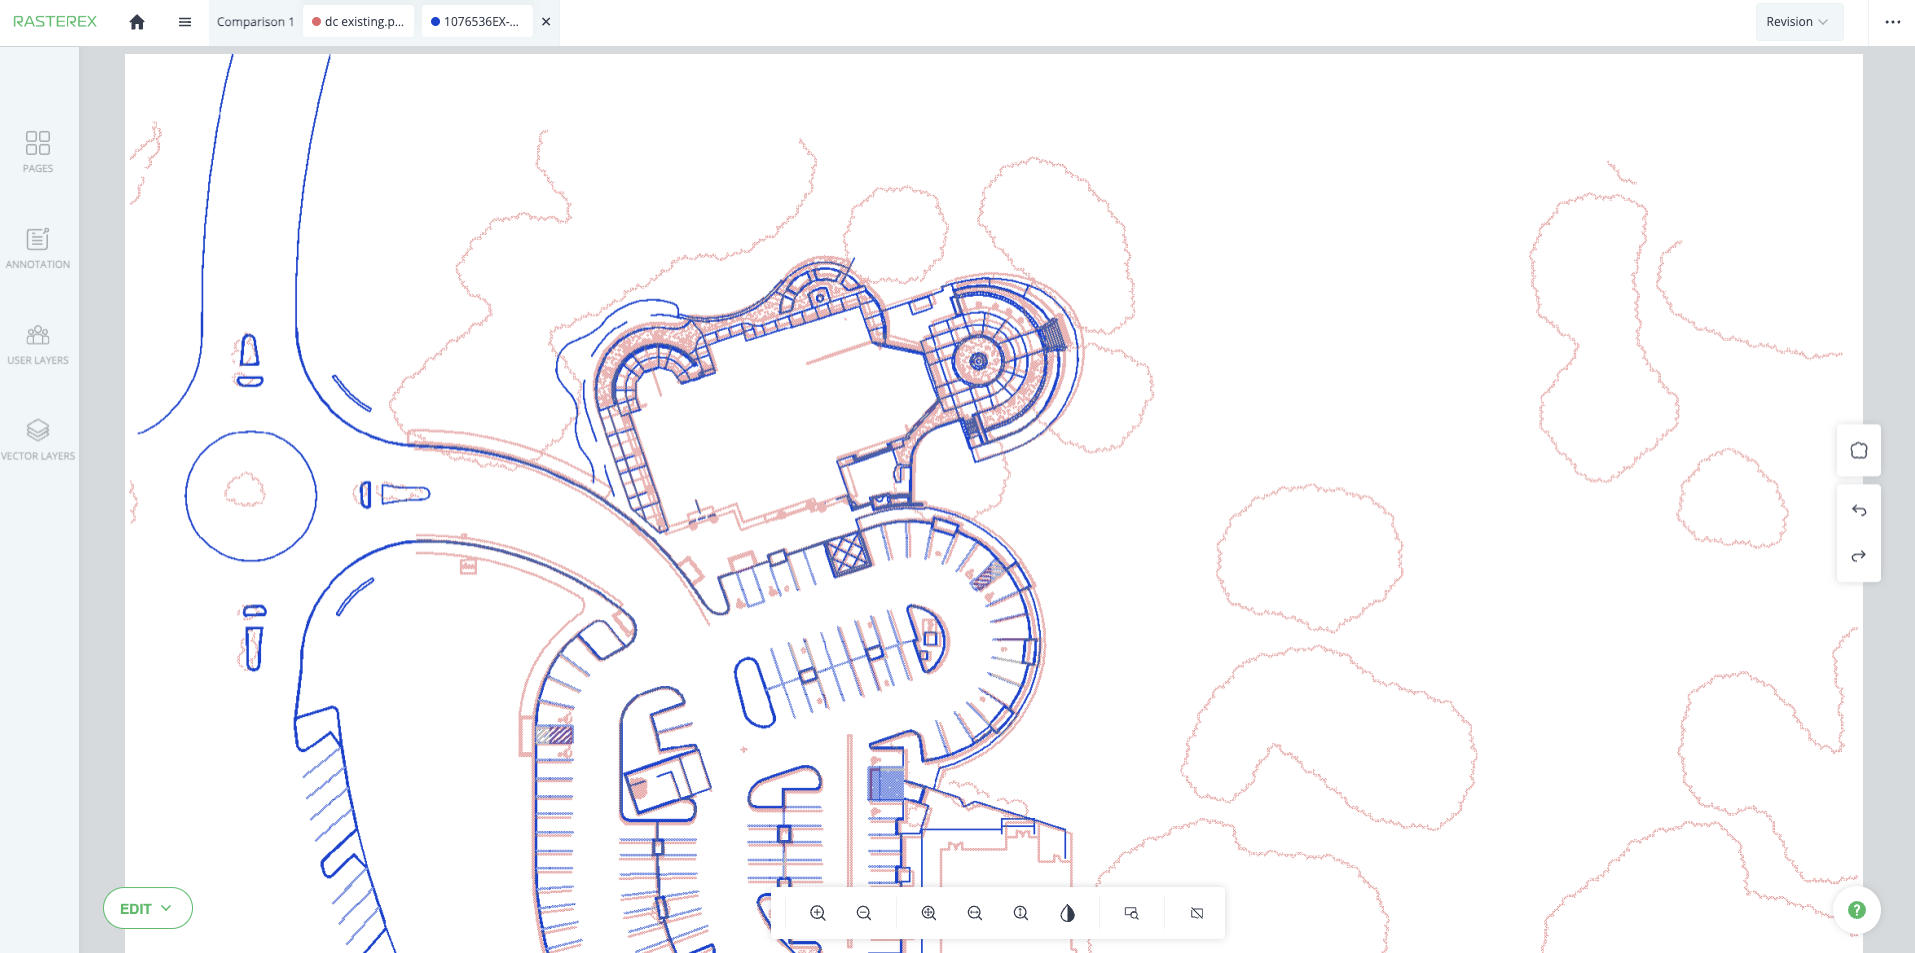
- Users can repeat the alignment process multiple times until they are satisfied with the results.
- Note: Once a markup is placed on the canvas, further alignment adjustments are disabled, and only saving options are available.