Toolbar
The toolbar provides access to basic file navigation, view options, and interactions with the file content, where applicable. It adapts to three principal modes based on the type of file being viewed:
- Viewing a 2D File
- Viewing a Comparison
- Viewing a 3D File
In each case, the toolbar dynamically adjusts its elements to reflect the options available for the specific file format and view mode.
Toolbar (2D)
For 2D file viewing mode, the toolbar allows users to navigate the file, adjust the view, and interact with the content. Below is the list of tools and their functionalities:
Bird’s Eye View
- Provides an overview of the entire document, allowing users to quickly navigate and locate specific areas.
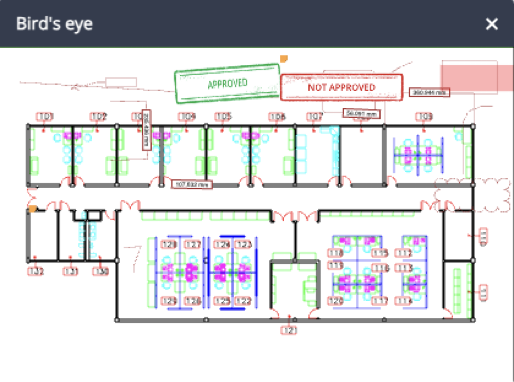
- Users can zoom in on the document to see the entire file and use the viewport in the bird’s eye modal to drag and navigate to desired sections.
Magnifying Glass
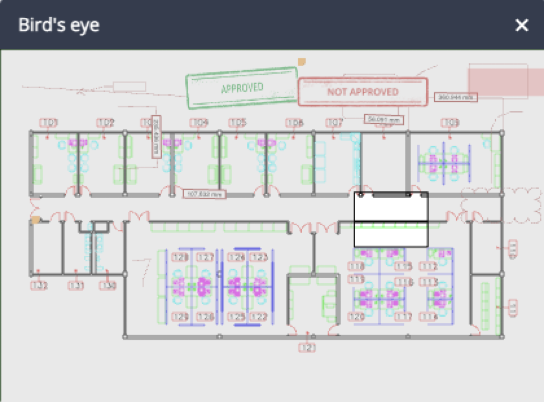
- Zooms in on a specific part of the file without changing the scale of the entire file.
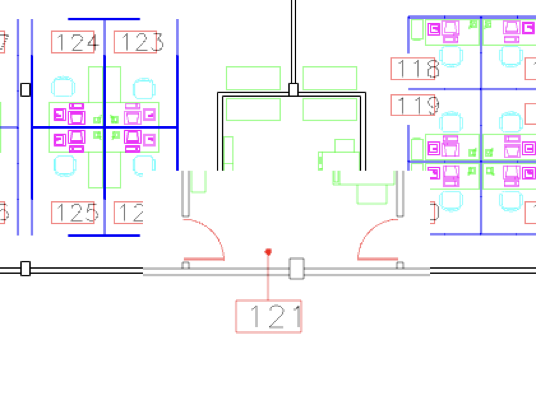
- Helps users focus on details or areas of interest without altering the overall layout.
Zoom In
- Increases the scale of the viewed file to enlarge details or specific sections.
Zoom Out
- Decreases the scale of the viewed file, providing a broader perspective.
Fit to Window
- Adjusts the document to fit the dimensions of the viewing window, ensuring no scrolling is needed to view the entire document.
Fit Width
- Fits the width of the document to the viewing window while maintaining the aspect ratio, eliminating the need for horizontal scrolling.
Fit Height
- Fits the height of the document to the viewing window while maintaining the aspect ratio, eliminating the need for vertical scrolling.
Zoom In Area
- Allows users to select a specific area with a rectangular box and zoom in on it for closer inspection.
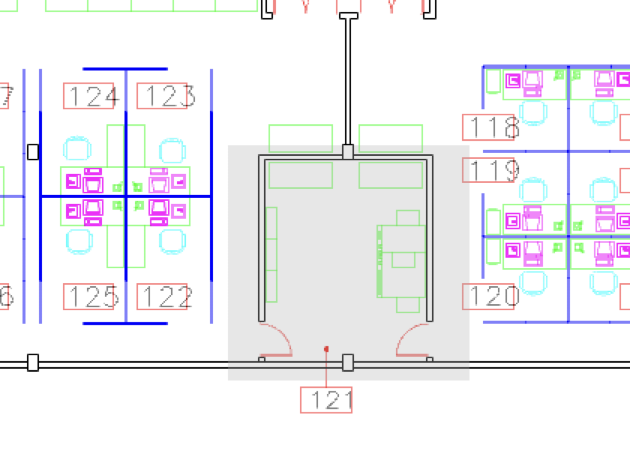
- By selecting a specific area to zoom in on, users can easily navigate through the document and examine details with precision.
Rotate
- Rotates the document counterclockwise in 90-degree increments, adjusting the orientation for better readability.
Hide Markups
- Temporarily hides annotations, markups, or added elements on the document for a clearer view of the original content.
- This functionality enables users to temporarily remove distractions or visual clutter from the document view, providing a clearer and unobstructed view of the original content.
- By hiding markups, users can focus on the underlying document without any additional annotations or comments interfering with their reading or analysis.
Select Text
- Lets users select and highlight portions of the document's text, enabling tasks like copying.
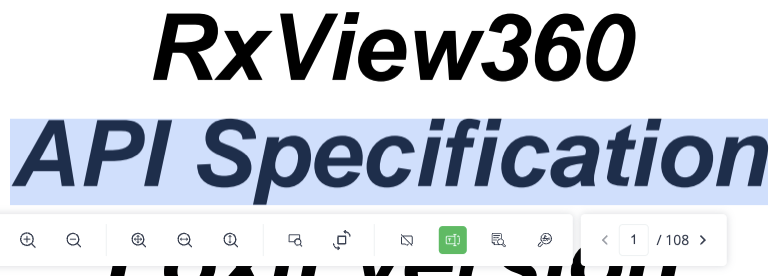
Search Text
The "Search Text" tool allows users to search for specific keywords or phrases within the text content of the document. It makes use of the RxCore.textSearch and RxCore.endTextSearch methods, which initiate and end the search process in the SDK.
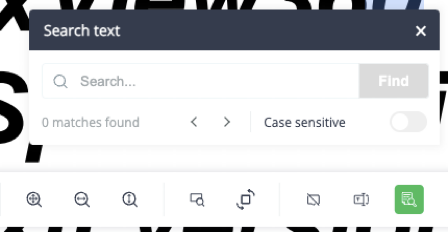
Clicking on the "Search Text" tool opens up the search text modal, where a user can enter the query for search and interact with the results.
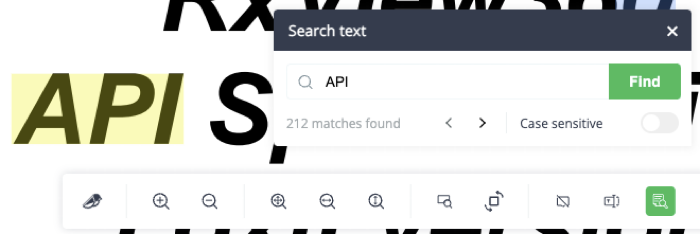
Once search is initiated, the matching terms will be highlighted in the document for easier identification of matches.
- The search text modal contains the following elements.:
- Search Input: A field for entering search queries.
- Find Button: Initiates the search process.
- Matches Count: Displays the total number of matches for the query.
- Previous/Next Result Arrows: Navigate between search results.
- Case-Sensitive Toggle: Allows case-sensitive search.
- Close Icon: Closes the search modal.
Search Attributes
The "Search Attributes" tool is supposed to open a dialogue where users can search for blocks based on attribute values or block names. This functionality is aimed at enabling users to query the document for specific blocks or elements that match certain criteria defined by attribute values or block names. By entering search queries, users should be able to efficiently identify and locate blocks within the document that meet their specified criteria, facilitating tasks such as filtering, sorting, or analyzing document content based on attributes or block names.Not implemented..
Background Color
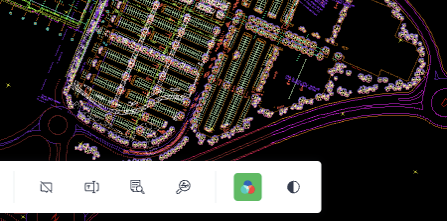
- Lets users switch between different background colors (e.g., black, gray, white) for improved readability based on preferences or environmental conditions.
- For example, users may choose a black background for enhanced contrast in low-light environments, a gray background for a neutral and balanced viewing experience, or a white background for standard readability in well-lit conditions.
Monochrome
- Converts the document to black-and-white mode, improving readability and focus, especially for visually impaired users or when analyzing complex diagrams or charts.
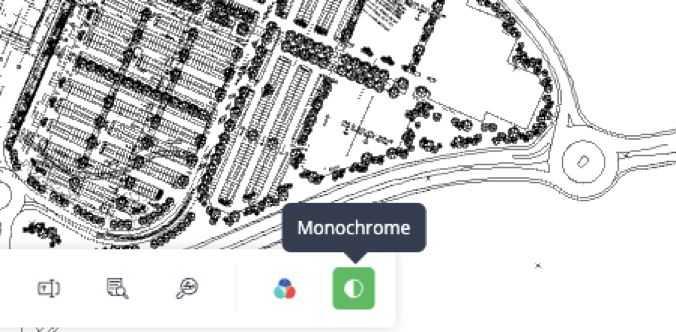
The monochrome mode can be used, for instance, with the purpose of improved accessibility by improving the readability for users with visual impairments who may have difficulty distinguishing between different colors, or to improve focus by removing color distractions allows users to focus more on the content itself, particularly when analyzing complex diagrams, charts, or technical drawings.
Pagination Toolbar
This toolbar appears when viewing a multi-page document. It includes:
-
Previous/Next Page Arrow: Navigate to the previous or next page of the document.
-
Current Page Indication/Page Number Input: Displays the current page number and allows users to input a specific page number for navigation.
-
Pages Count: Shows the total number of pages, providing context about the document's length and aiding efficient navigation.
Toolbar (Compare)
For the compare results files viewing mode, the toolbar provides users with the ability to navigate through the generated comparison and modify the view setup by adjusting its position and display.
It contains the set of tools and options, which are as listed below.
Zoom In
The "Zoom In" tool allows a user to increase the scale of the current viewed file. This functionality enables users to enlarge the document, making it easier to view details or specific sections of the content.
Zoom Out
The "Zoom Out" tool allows a user to decrease the scale of the currently viewed file. This functionality enables users to reduce the size of the document, providing a broader view of the content.
Fit to Window
The "Fit to Window" tool adjusts the display of the document to fit within the dimensions of the viewing window. This functionality ensures that the entire document is visible without the need for scrolling or resizing the window. By fitting the document to the window, users can easily view the content in its entirety without any parts being cut off or hidden.
Fit Width
The "Fit Width" tool adjusts the display of the document to fit the width of the viewing window while maintaining the aspect ratio of the document. This functionality ensures that the entire width of the document is visible within the window, regardless of its length or height. By fitting the width of the document to the window, users can easily view the content without the need for horizontal scrolling.
Fit Height
The "Fit Height" tool adjusts the display of the document to fit the height of the viewing window while maintaining the aspect ratio of the document. This functionality ensures that the entire height of the document is visible within the window, regardless of its width. By fitting the height of the document to the window, users can easily view the content without the need for vertical scrolling.
Grayscale Slider
The grayscale slide option allows a user to access the slider, which lets one adjust the level of the visibility of similar parts of the drawings in the compare mode. When this icon is clicked, the slider interface gets presented.
The slider provides three positions for adjusting the level of grayscaling:
-
Level 3
Applies the level of grayscaling to the value, which makes the differences between the drawings and overlapping parts fully visible.
Sets theEqualColor: "rgb(128,128,128)"value inCommandJSON. This results in a comparison output where differences are clearly highlighted. The output result will be as presented below.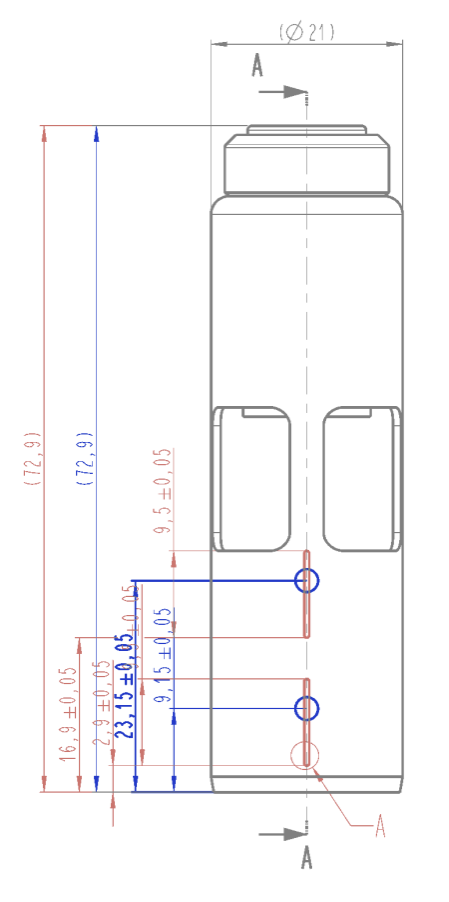
-
Level 2
Creates the semi-transparent effect of the visibility of the common parts of the drawings.
Sets theEqualColor: "rgb(200,200,200)"value inCommandJSON. It creates the comparison output with a partially visible overlap between the drawings. The output example is shown below.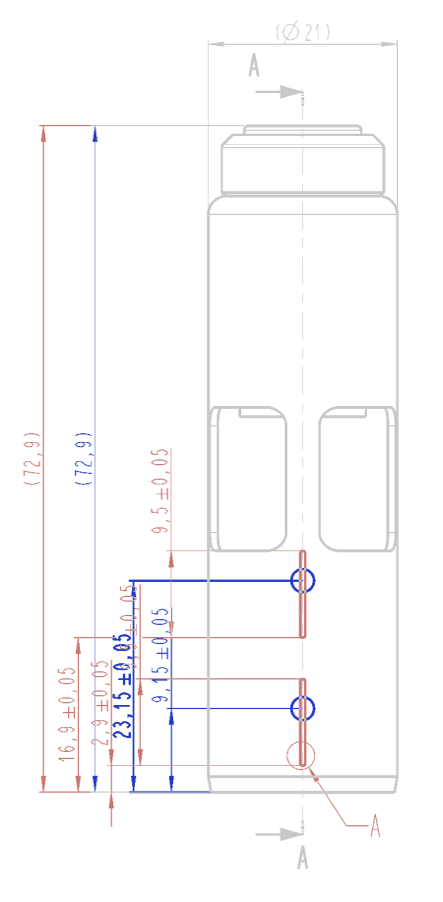
-
Level 1
Applies the level of grayscaling to the value, which only makes the differences between the drawings visible.
Sets theEqualColor: "rgb(255,255,255)"value inCommandJSON. The result of the comparison in this case will appear as in the below example.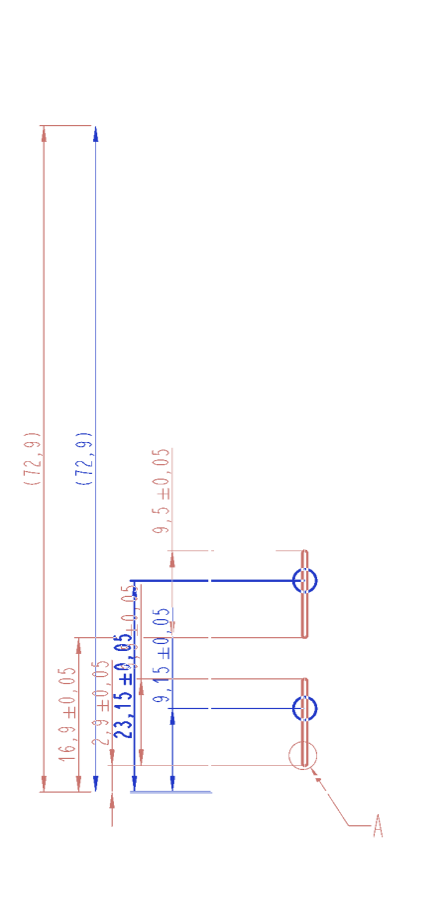
Zoom In Area
The "Zoom In Area" tool allows a user to zoom in on a specific area or region of the document by selecting it with a rectangular box. This functionality enables users to focus on particular details or sections within the document, magnifying them for closer inspection.
Hide Markups
The "Hide Markups" tool allows users to hide any markups, annotations, or added elements overlaid on the document. This functionality enables users to temporarily remove distractions or visual clutter from the document view, providing a clearer and unobstructed view of the original content. By hiding markups, users can focus on the underlying document without any additional annotations or comments interfering with their reading or analysis.
Toolbar (3D)
The toolbar presented when a 3D file is opened provides users with navigation and functional options specific to BIM/3D files.
It contains the set of tools and options, which are described below.
Bird’s Eye View
Provides an overall view of the 3D model, allowing users to get a comprehensive perspective of the entire model and navigate through it.
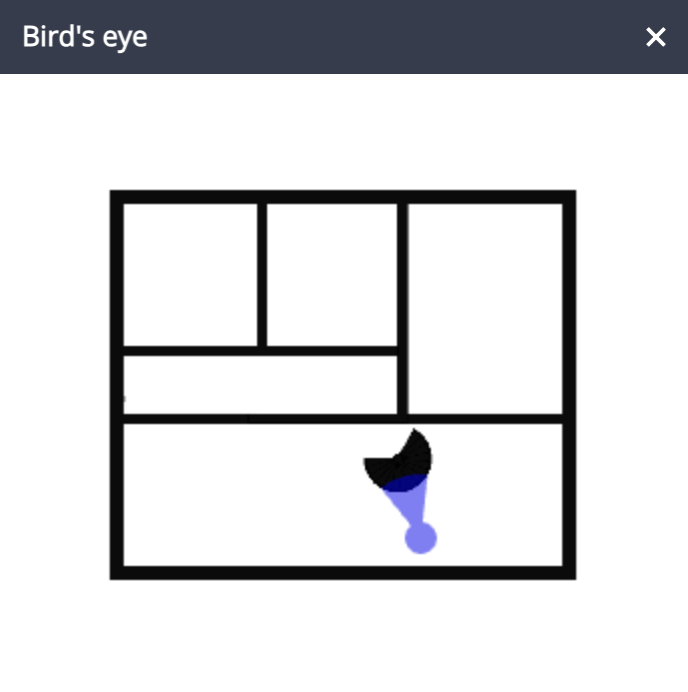
- Once the bird’s eye view is activated, a modal will appear presenting the user with an overview of the entire 3D model.
- Within this modal, users can navigate through the model by clicking on specific parts of the scheme presented.
- Clicking on a particular part of the model within the bird's eye view modal will navigate the user's viewpoint to that specific part of the model in the main viewer, allowing for seamless exploration and interaction with different sections of the 3D model.
This functionality enhances user navigation and facilitates efficient exploration of complex 3D data within the document viewer.
Reset 3D Model
Resets the 3D model to its default position or orientation.
3D Select
Allows users to select specific elements or components within the 3D model for further manipulation or inspection.
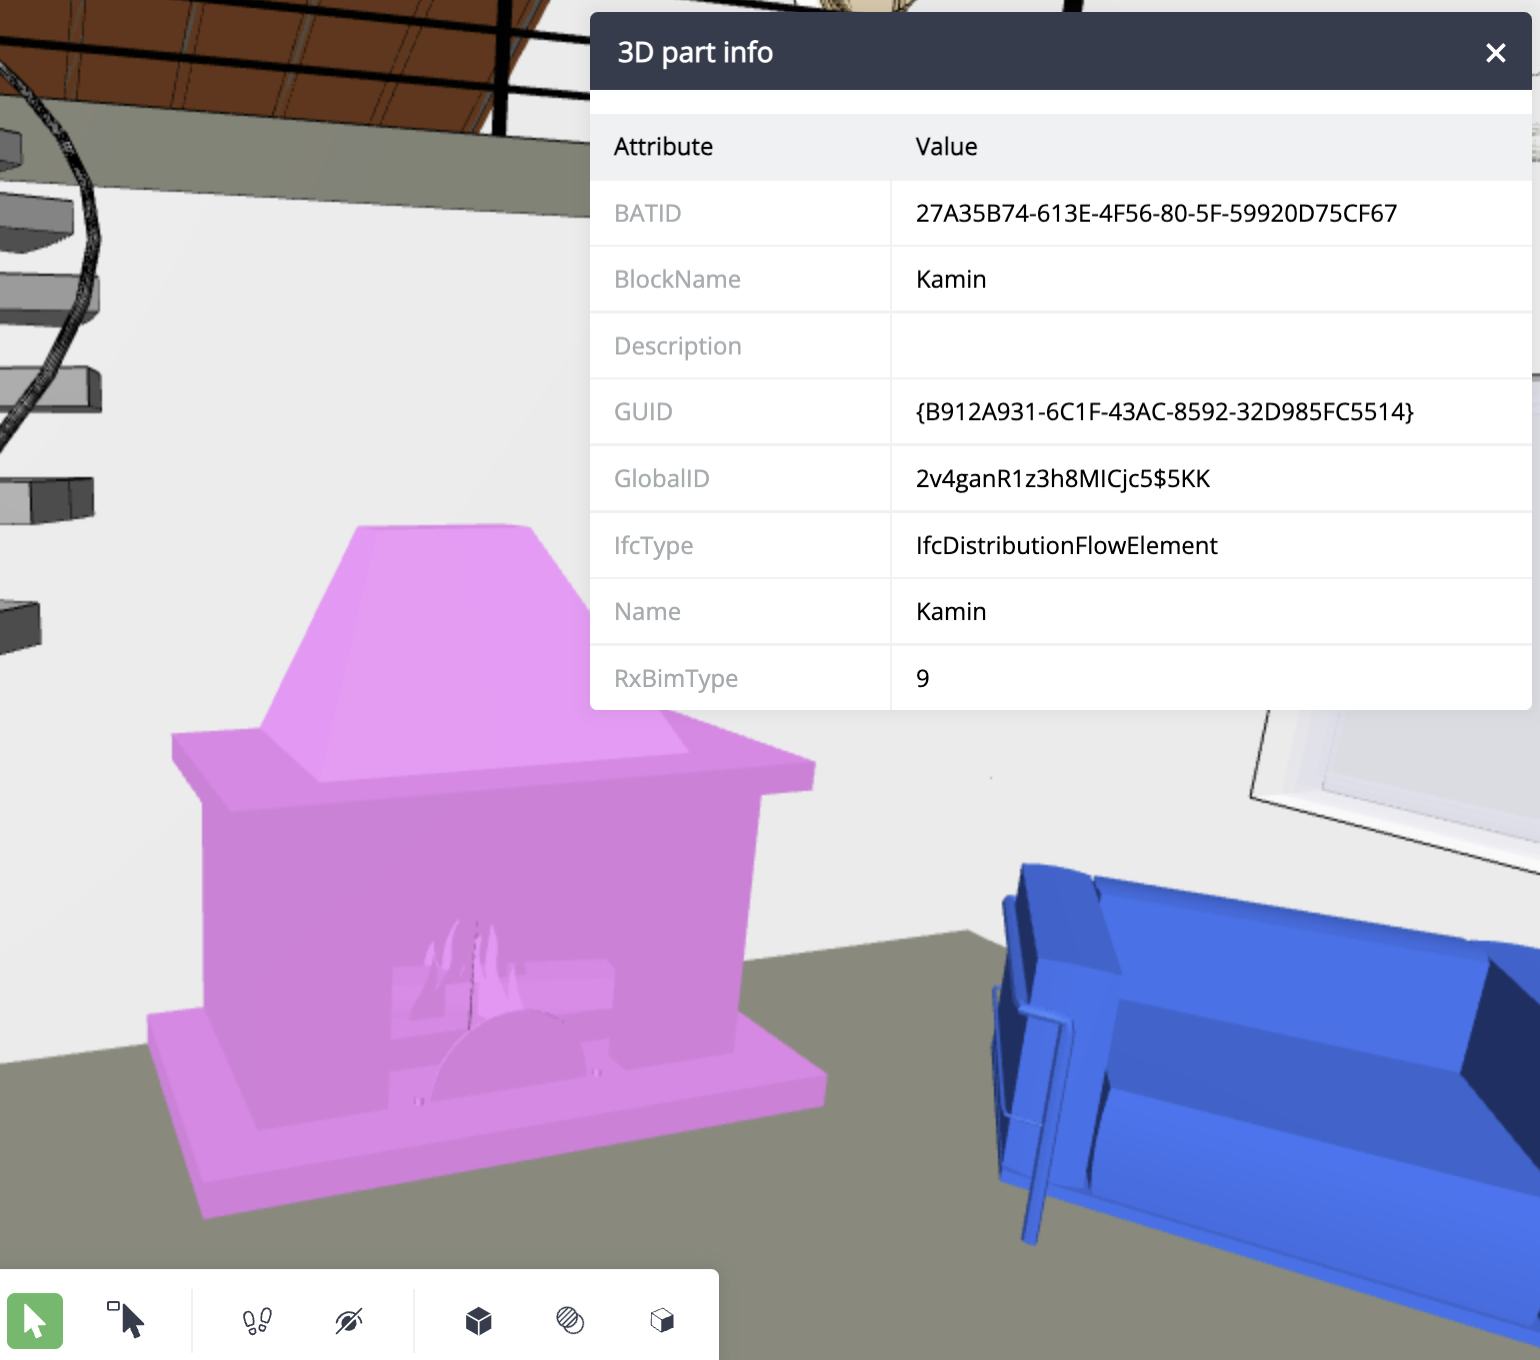
- Once the tool is activated, clicking on any part in the main viewer will select it.
- The "3D Part Info" modal will appear, allowing further inspection of the selected object's details.
3D Select Markup
Enables users to select markups or annotations overlaid on the 3D model.
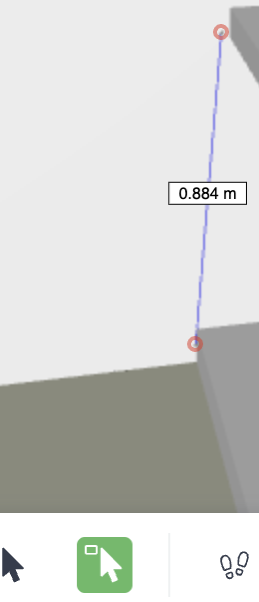
- When the tool is activated, a user can click on any markup that exists on top of the drawing to select it for further manipulation or interaction.
- To leave the markup selection mode, a user must deactivate it by clicking the icon again.
Walkthrough
Activates a walkthrough mode, allowing users to navigate through the 3D model as if walking through a physical space.
- Use W/A/S/D or Up/Down/Left/Right buttons to navigate.
- Use the mouse to rotate the view.
Hide 3D Parts
Hides specific parts or components of the 3D model from view, enabling users to focus on particular aspects of the model.
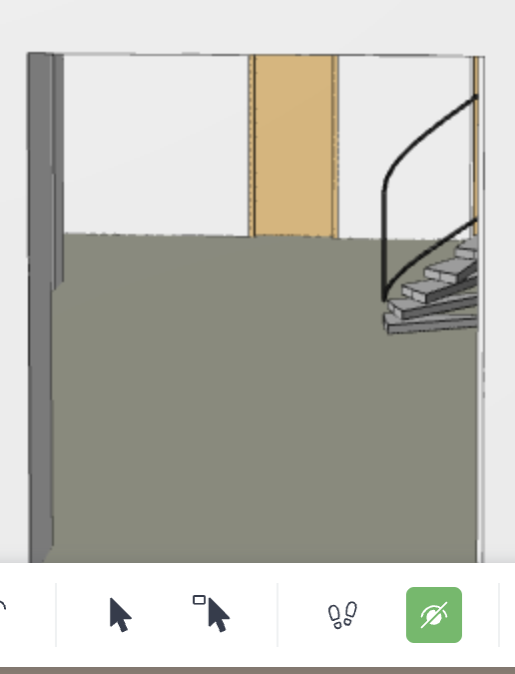
- When this mode is active, clicking on any part of the viewed model will hide it.
- To leave the "Hide 3D Parts" mode, click the icon again.
Explode 3D Model
Disassembles or separates components of the 3D model, providing a clearer view of individual parts or assemblies.
- Clicking on the icon will display a slider interface.
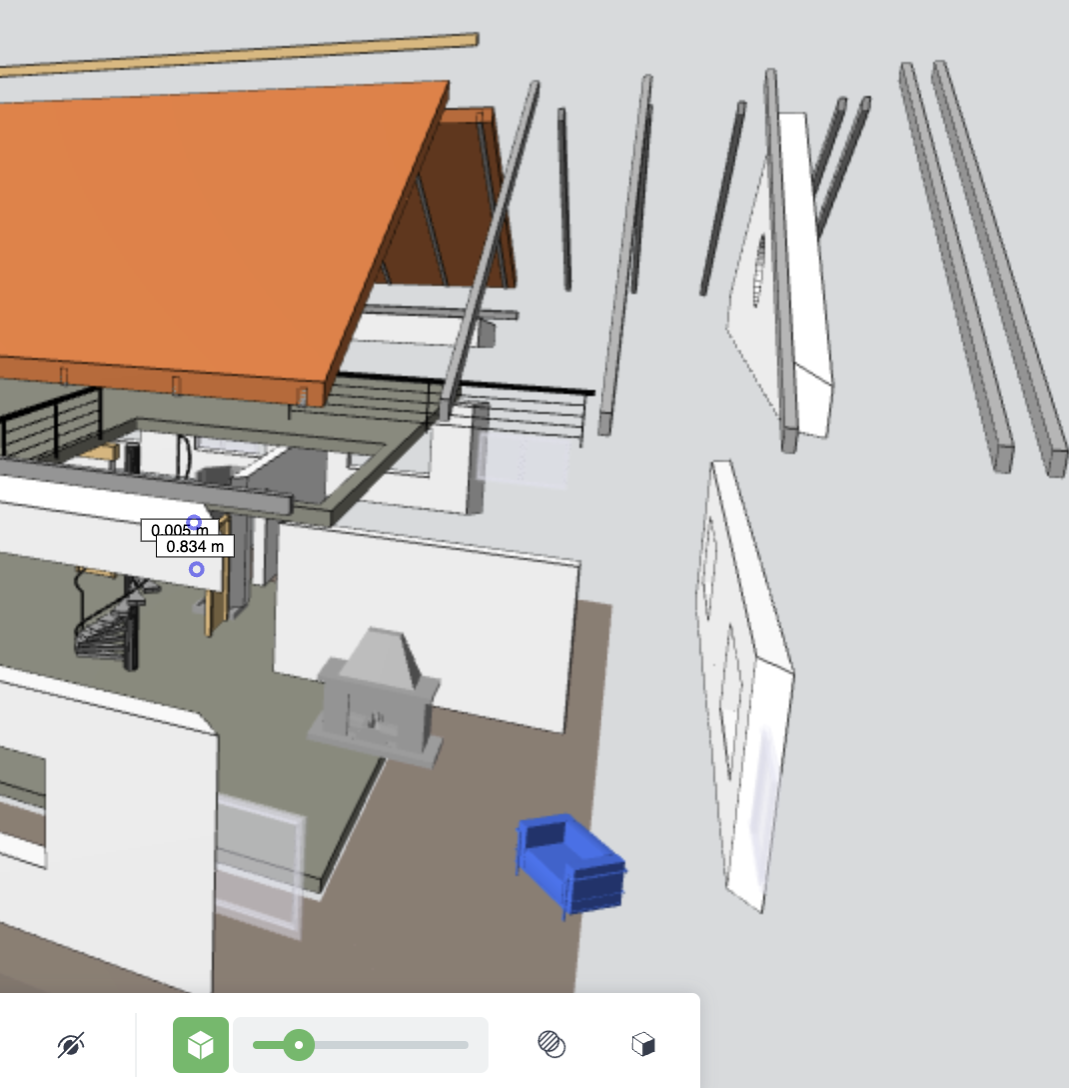
- Drag the slider to adjust the level of disassembly, increasing or decreasing it as needed.
Transparency 3D Model
Adjusts the transparency level of the 3D model, allowing users to see through certain parts or components.
- Clicking the icon presents a slider interface.
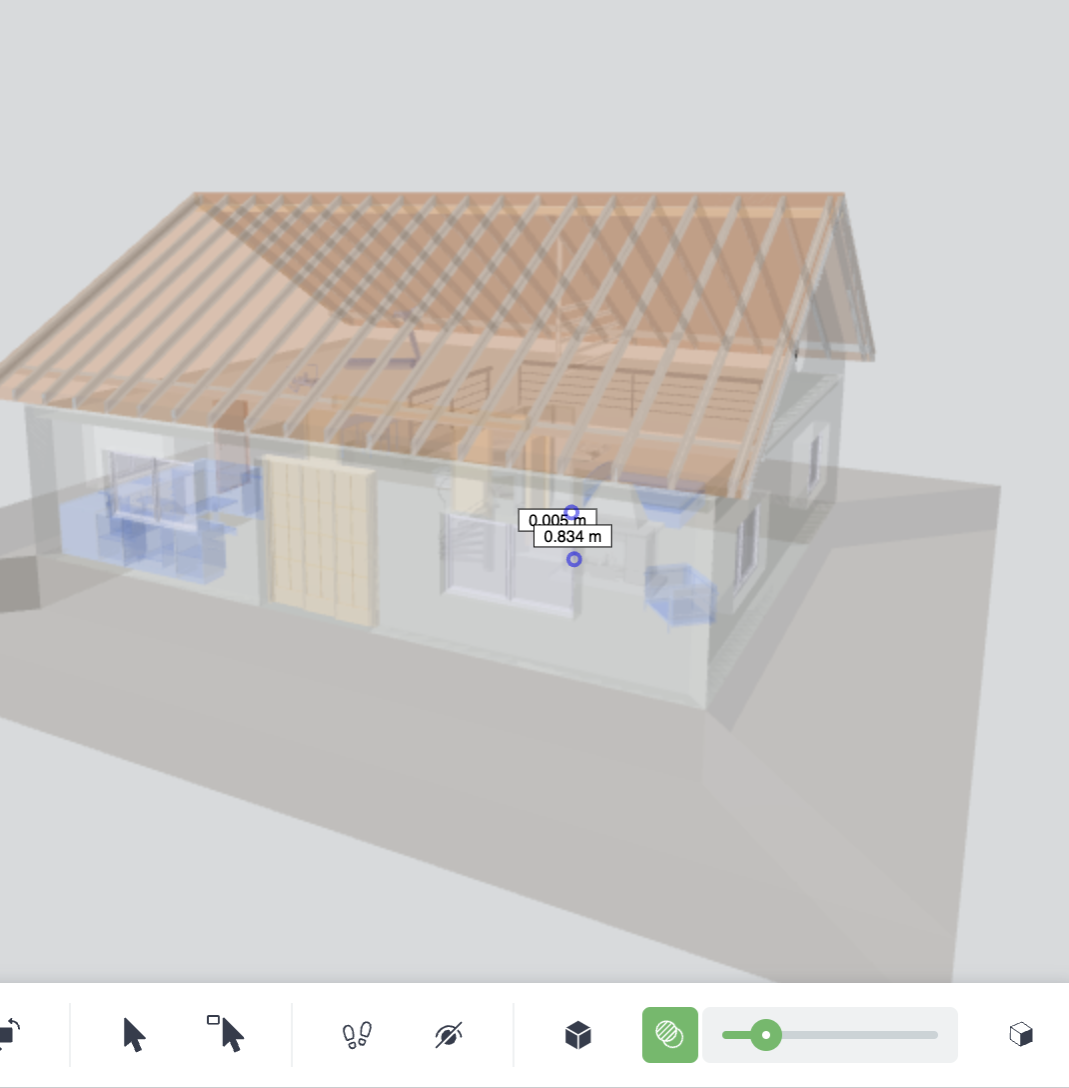
- Adjust the slider to set the model's opacity from 0% to 100%.
Cross Section
Enables users to view a cross-sectional slice of the 3D model, revealing internal details or structures.
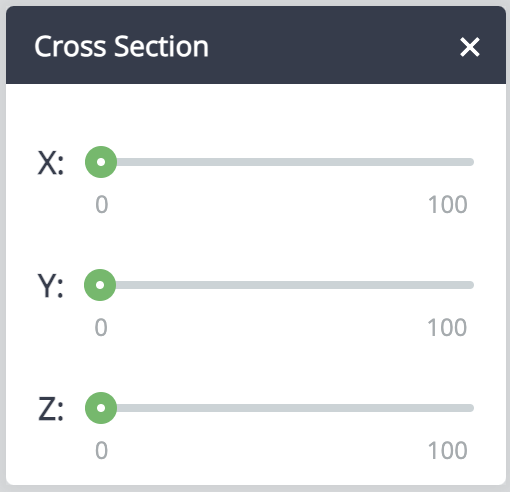
- Clicking on the icon presents a modal window with three sliders that allow the user to adjust a cross-sectional slice by the X, Y, and Z axes.
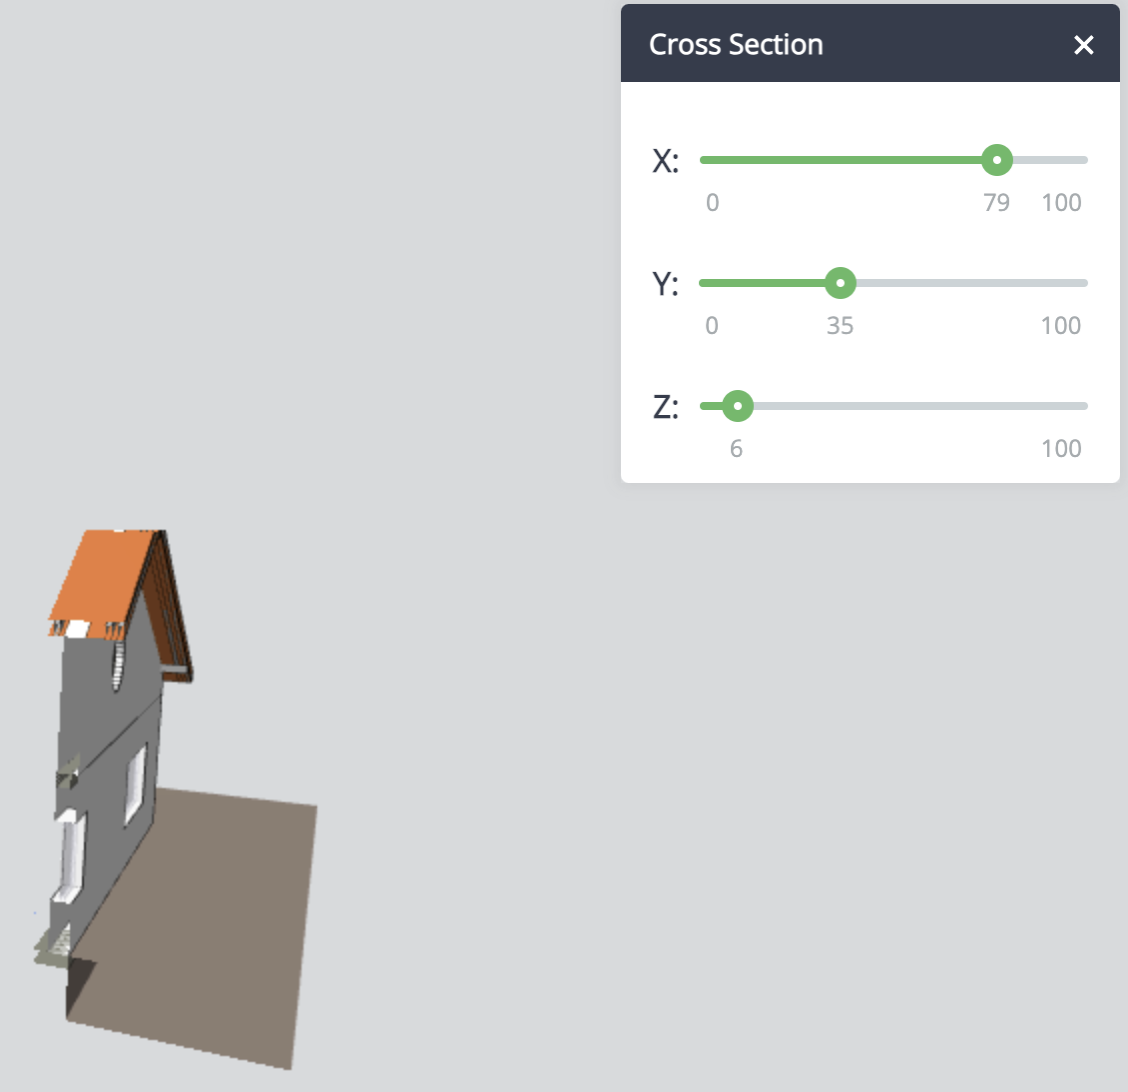
- Applying the cross-sectional slicing values will crop the model in the main viewer according to the defined parameters.