Annotate Mode

The “Annotate” mode can be opened from the top navigation menu of the viewer and allows a user to get access to the creation and editing of the mark-ups as well as to viewing them.
- When the annotate mode is active any existing markups that are already available in the document will get presented in the main viewer. A user will then be able to interact with the existing annotations as well as to create the new ones.
- New annotations can be created with the help of the annotate toolbar, which will show up at the right-hand side of the screen once the annotate mode is launched.
- The markup can be drawn on any type of the viewed document (*The Rasterex team has voiced the intention to change the mark-up handling for 3D/BIM files in the future, but for now no action has been taken on that in the current instance of a viewer).
- The current version of the viewer supports the set of the drawing and annotation tools, which are listed below.
Text
Allows users to add text annotations to the document.
When the text tool is activated a user can draw an area with the mouse pointer, where the text annotation is supposed to be created. Releasing the mouse the annotation item will get created.
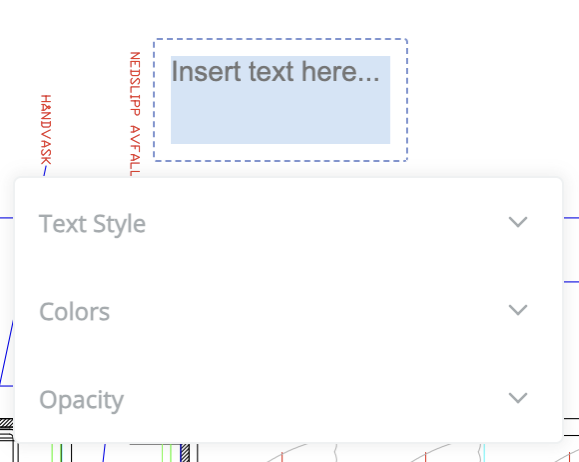
Within the text annotation that is created a user will be able to use the following components.
Text Input
The text input within the annotation lets a user insert the text of the markup that is to be stored within the annotation. A user can click the text area and start typing the annotation message to be saved with the markup.
Text Style Accordion
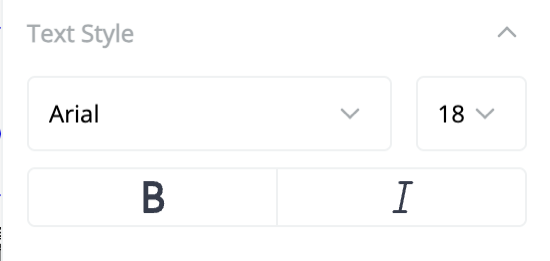
The text style accordion allows a user to modify the styling properties of the text within the annotation. It can be expanded or collapsed by clicking on the accordion or an arrow. A user can view and modify the following options.
Font
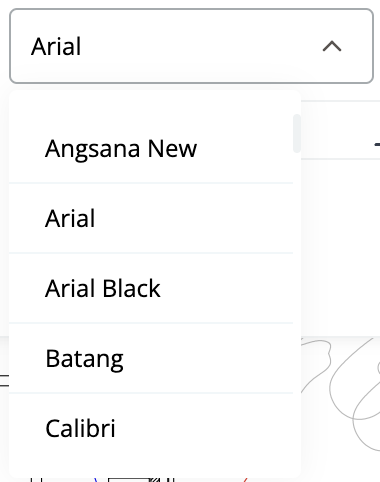
Allows changing the font of the text within the markup by picking the required font from the dropdown list.
Font Size

Lets users modify the size of the font within the markup by selecting the required size value from the dropdown.
Font Style
Allows applying the styling options such as bold and italics to the text of the markup.
A user can click on the required styling button to apply or remove the styling option. The style that is currently active is respectively highlighted in the menu.
Color
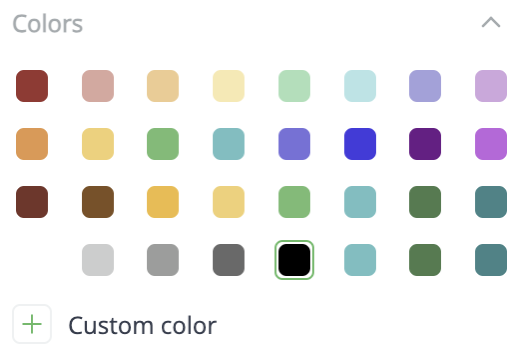
Allows a user to modify the color of the markup by picking any of the pre-defined colors or using the “Custom color” item to pick a specific color and shade with a color-picker component.
Opacity
Allows a user to adjust the opacity of the annotation with the help of a slider, using which a user may set any value in a range of 0-100%.
Callout
- Enables users to add callout annotations with a pointer to a specific area of the document.
- Once a user has selected a call-out option in the menu one can click on any point of the drawing to create a point to which the callout arrow will stick.
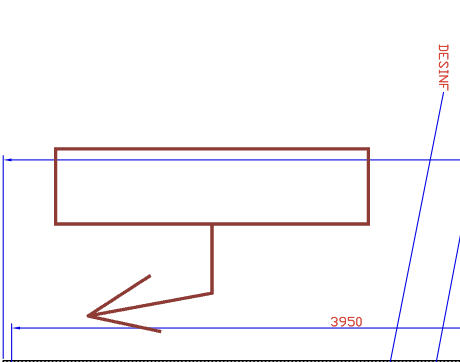
- Afterward, a user can use the mouse to adjust the position of the call-out’s text box and once the required place is selected another click will save the markup and let a user fill in its content and adjust the properties.
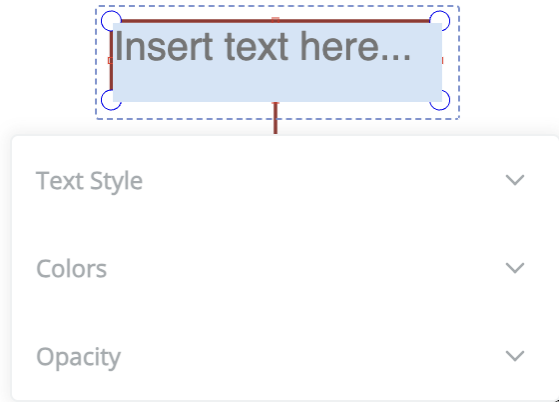
- Once the callout is created a user is able to access and modify the same properties as in the annotation of the text type, which are described above.
Stamp
- To place a stamp on the drawing a user can pick one of the stamps from the list, click on it and start dragging a stamp to the canvas.
- Once the stamp is released it will be placed in the respective place of the drawing to which it has been dragged and where a user has dropped it.
- When a stamp is created a user will be able to modify its size, proportion, and rotation value.
Paint
Allows users to access the set of paint markups tools. Hovering over the item a user will be presented with the submenu allowing one to pick the required paint tool.
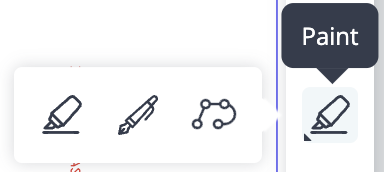
When there is an active tool selected, the annotate toolbar will change the state of the “Paint” item and will present the current active instrument instead of a generic menu icon.
The list of paint tools available in the viewer is as follows.
Highlighter
- Enables users to highlight text or areas of the document. To start highlighting a user can click on the drawing to set a pivotal point for the highlighter when the highlight tool is active.
- Once the point is set a user can drag a cursor to create the rectangle that is supposed to get highlighted.
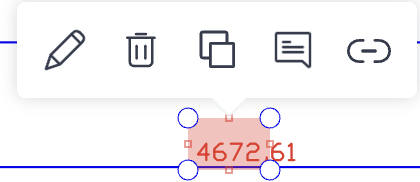
- Another click will save the highlighter area and will allow a user to view and modify the properties of the markup.
Freehand
- Provides a freehand drawing tool for creating custom annotations.
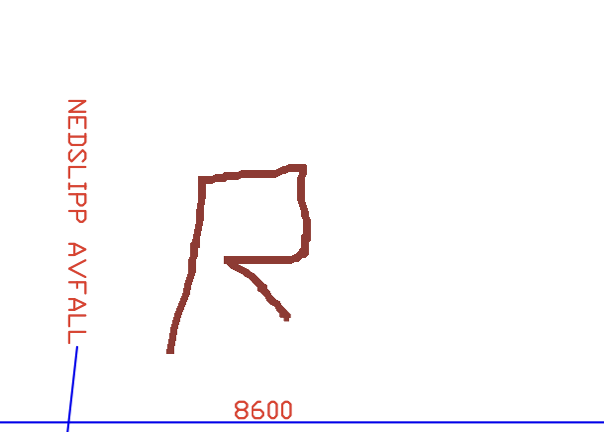
- When the freehand tool is active a user can draw on the canvas with the mouse with no interruptions and to finish the process one has to click the “Freehand” item in the annotation toolbar again.
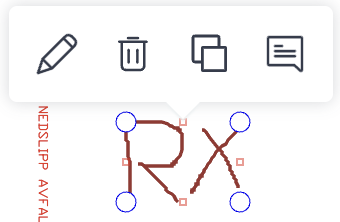
- Once the freehand is deactivated in the toolbar, one will be able to view and modify the properties of the freehand markup just drawn.
Polyline
- Allows users to draw straight or curved lines consisting of multiple segments.
- Once the polyline tool is selected, a user can click on any place of the opened drawing to set the starting point of the polyline. One can add as many breakpoints as needed with another click on the canvas to create the line breaks.
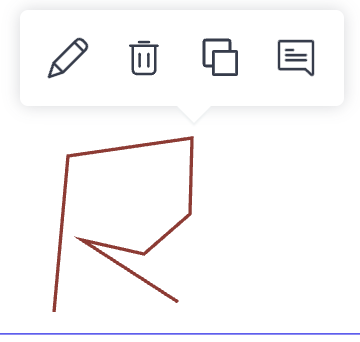
- When the polyline is finished, one can double click to finish the line. Once the line is created a user gets the access to viewing and editing its properties.
Shapes
- Shape Drawing Tools
Offers various tools including rectangle, ellipse, rounded rectangle, and polygon.-
Access the list by hovering on the shapes item in the annotation toolbar.

-
Select a tool to change the toolbar state to active.
-
Draw shapes by clicking and dragging on the canvas; double-click to finish for polygons.
-
Edit shape properties after creation.
-
Shape Types
-
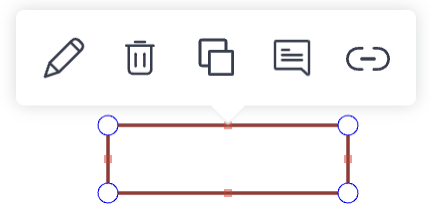
Rectangle
Allows drawing quadrilaterals with four right angles.
-
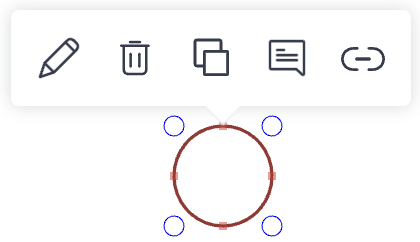
Ellipse
Enables drawing closed curves resembling elongated circles.
-
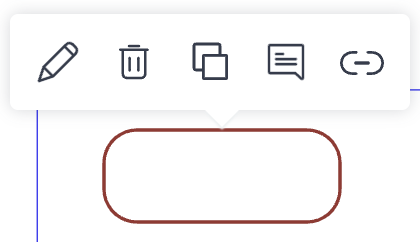
Rounded Rectangle
Allows drawing rectangles with rounded corners for a softer look.
-
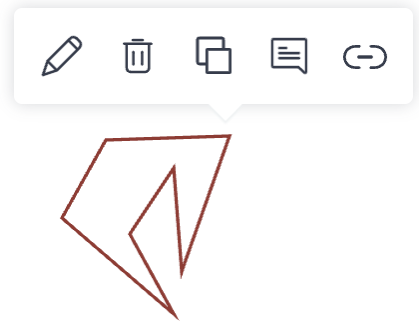
Polygon
Enables drawing closed shapes with straight sides and angles.
-
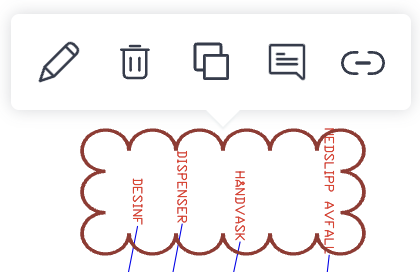
Cloud
Allows drawing cloud-shaped annotations for distinctive visual representation.
Arrow
- Provides arrow-shaped annotations for direction or highlighting.
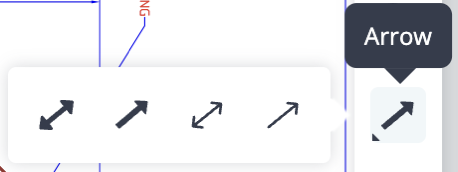
- Select from filled or open-ended arrows, single or both ends.
- Create by clicking on the canvas and dragging to the desired endpoint.
- Edit arrow properties after creation.
Arrow Types
- Filled Both Ends
Arrows at both ends, filled.

- Filled Single End
Arrow at one end, filled.

- Open Both Ends
Thin lines with arrows at both ends.

- Open Single End:
Thin line with an arrow at one end.

Measure
- Measurement Tools Overview
- Access tools by hovering over the measure icon in the annotate toolbar.
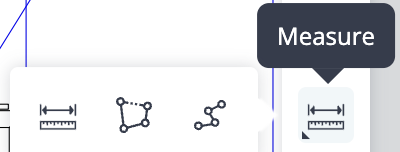
- Select a tool to activate the toolbar and set properties.
- Available tools: Length, Area, Path, Count.
Measurement Types
Length
Measures the length of a line or path. To create a length annotation a user has to click on the drawing to set the starting point of the measurement and can drag a cursor to another part of the drawing where the measure line is supposed to finish; another click will create a markup.

Once the measure markup is created a user is able to get the access to edit the markup’s properties. When the measure tool is selected, the measure type and properties modal will be presented to a user, which allows a user to parameterize the visual properties of the measure markup to be created and to manage the snapping.
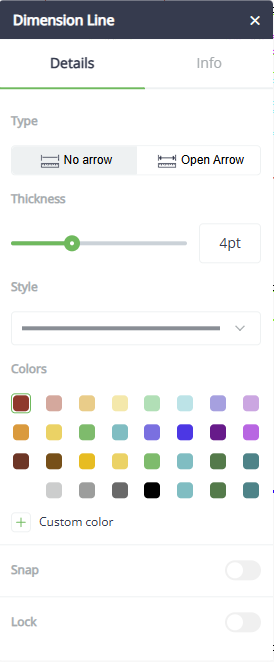
In this modal a user is able to parameterize the following options of the measurement markup.
-
Measure Type
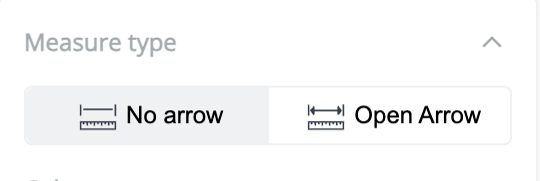
The measure type lets a user select the look of a measure markup line to define if the annotation should be presented as the line with no arrows, or in the form of an open both ends arrow. The current selected type is respectively highlighted in the modal.
- Colors
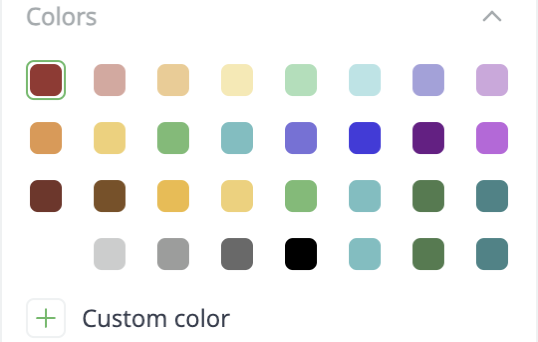
The colors accordion allows a user to select one of the pre-defined colors for a measure markup or use the color-picker to set a custom color.
- Snap
The snap parameters allow a user to define whether a markup being created should snap to a part of the drawing it's being created on top of, or if the markup is created without snapping to the drawing. This feature provides users with control over the precision and alignment of their markups, enhancing the accuracy and consistency of annotations and drawings within the document. By toggling the snap parameters, users can choose whether their markups adhere to specific elements or lines in the drawing, or if they are placed freely without snapping to any particular part of the document.
Area
Measures the area of a closed shape. To create an area annotation a user needs to click on the canvas to set the starting point of the area and using the mouse one can create the following points on the canvas with another click; once the area is complete a user can double click to finish the creation of the area.
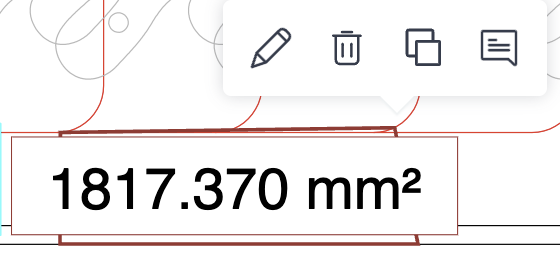
When the area measurement tool is selected in the annotate toolbar the modal window will appear allowing a user to parameterize the visual properties of the area measure markup to be created and to manage the snapping.
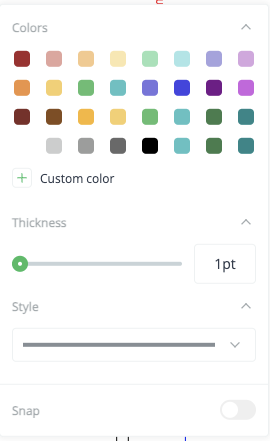
There are the following configurations available for a user in this modal window.
- Colors
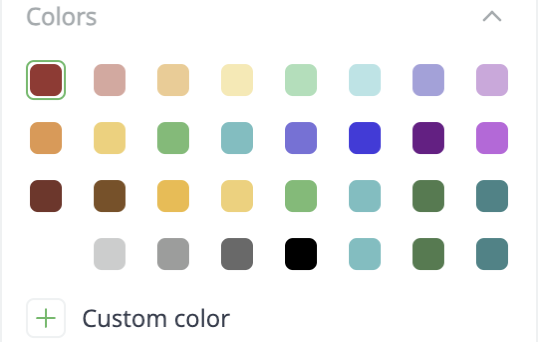
The colors accordion allows a user to select one of the pre-defined colors for a measure area markup or use the color-picker to set a custom color.
- Thickness
The thickness slider lets a user adjust the line thickness of the markup that is to be created.
- Style
The style picker allows a user to select the line style for the markup that is to be created. A user can choose the line style using one of the options available in the styles dropdown. The option selected here will be used for the markup that is to be created.
- Snap
The snap parameters allow a user to define whether a markup being created should snap to a part of the drawing it's being created on top of, or if the markup is created without snapping to the drawing. This feature provides users with control over the precision and alignment of their markups, enhancing the accuracy and consistency of annotations and drawings within the document. By toggling the snap parameters, users can choose whether their markups adhere to specific elements or lines in the drawing, or if they are placed freely without snapping to any particular part of the document.
Path
Measures the distance along a path or polyline. To create a path measurement markup a user can click on a canvas to create the starting point of the polyline and using the mouse one can add the further line’s breakpoints; when the polyline is finished a user can double click to get the polyline markup saved and created.
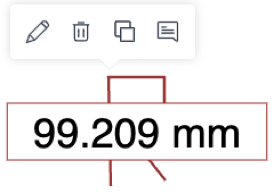
When the path measurement tool is selected in the annotate toolbar the modal window will appear allowing a user to parameterize the visual properties of the polyline measure markup to be created and to manage the snapping. The polyline parameters match the same pattern as the area measurement ones that are described above.
Count
Allows users to count and mark specific items or objects within the document. When creating the count markup a user draws several shapes that can be used to count objects in a drawing. As soon as there’s at least one shape added the markup can be saved.
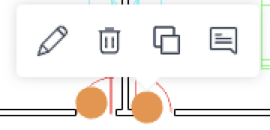
When the count annotation is saved a user can view and modify its parameters. Once the count tool is selected in the annotate toolbar the modal window will appear, allowing one to parameterize the style of the markup to be created.
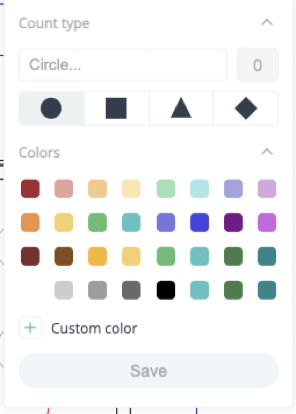
Name
Text input that allows a user to enter the name of the count markup that is to be created. A user can leave the field blank and by default the name of a shape used for the markup will be applied as the name, or one can enter a custom value to the input.
Count
The count is the non-editable field that shows the current number of count shapes created within the active markup, which is being created. The value is automatically updated when each new shape is added within the markup.
Colors
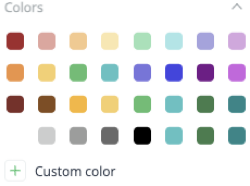
The colors accordion allows a user to select one of the pre-defined colors for the shapes of the count markup or use the color-picker to set a custom color.
Save
The save button lets a user save the count markup that has been created. It is disabled in case no shapes are added to the canvas. When there is at least one shape created within the current markup the save button will change the state to active and allow a user to save the annotation.
Note
Enables users to add textual sticky-notes or comments to the document. The note annotation menu is described in detail below in a separate subchapter.
Apart from the tools that allow creating the actual markups on a canvas, the annotate toolbar contains a few other functional elements allowing a user to interact with the markups and the markup layer of a main viewer. Those are outlined below.
Lock Markups
The "Lock/Unlock" feature enables or disables direct selection of annotations. When locked, zoom and pan operations cannot accidentally change annotations. Additionally, when locked, annotation links will be available.
This functionality provides users with control over the manipulation and modification of annotations within the document viewer. By locking annotations, users can prevent unintended changes while still allowing access to annotation links and ensuring stability during zoom and pan operations. Conversely, unlocking annotations allows for direct selection and editing of annotations as needed. This feature enhances user experience and ensures the integrity of annotations within the document.
Undo/Redo
The "Undo/Redo" feature allows users to reverse or restore recent changes made to annotations within the document viewer.
Undo
This function enables users to revert the most recent action performed, effectively undoing the changes made. For example, if a user accidentally deletes an annotation, they can use the undo function to restore it.
Redo
On the contrary, the redo function allows users to reapply changes that were previously undone using the undo function. This is useful in cases where a user decides to revert an action but later determines that it was necessary after all.
As soon as a user completes annotation and if they want to store all the markups created in the currently viewed document, they can use the save option to store the changes in the markup layer.
The save option can be accessed from the hamburger menu in the top navigation menu.
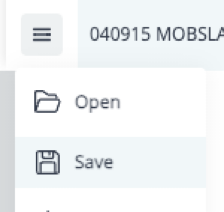
To get the annotations stored, click on the hamburger menu and then click on the “Save” option in the list.

Upon a successful save operation, a user will be informed that the markups have been successfully saved with the respective message in the viewer.
Unlike the “Revision” mode, which handles capturing attempts to close the document and suggests the user save the newly added markups or discard all the changes and leave, the annotate mode will allow a user to close the document that contains the unsaved markups with no warnings. So all the unsaved markups will be lost.
The intermediate step suggesting to save annotations or discard changes is not implemented for the annotate mode of a single document.
The above section of the document gives an overview of the annotated toolbar and creating the markups on the currently viewed document. However, the annotate module also contains certain capabilities and extra elements which are described in the respective subchapters below.