Configure IIS reverse proxy
- For production with HTTPS access, configure IIS with ARR + URL Rewrite
This guide explains how to configure IIS with Application Request Routing (ARR) and URL Rewrite to act as a reverse proxy for the rx-back-end service.
1. Install ARR and URL Rewrite
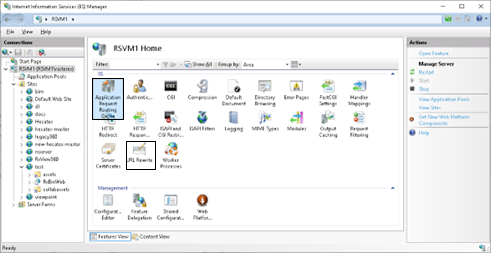
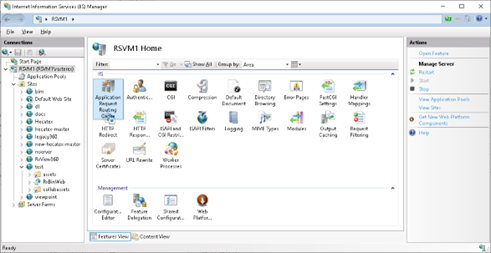
After installation, restart IIS Manager. You should see Application Request Routing Cache available.
2. Enable Proxy in IIS
- Open IIS Manager
- Select the server in the left-hand tree
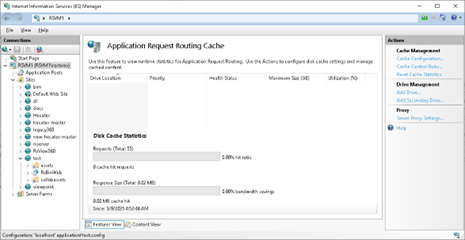
- Double-click Application Request Routing Cache
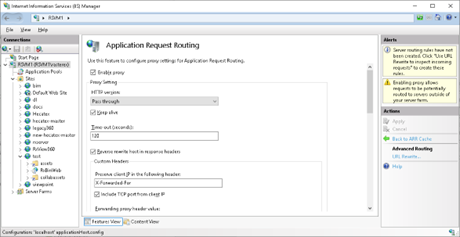
- In the right-hand Actions panel, click Server Proxy Settings
- Check Enable proxy and click Apply
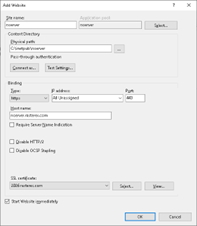
3. Create a New Website
- In IIS Manager, expand Sites
- Right-click Sites → Add Website
- Configure the site:
- Site name: e.g.
rx-proxy - Physical path: any empty folder
- Binding type:
https - SSL certificate: choose your certificate
- Site name: e.g.
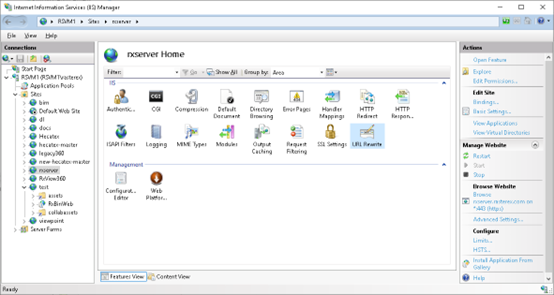
4. Configure URL Rewrite Rule
- Select the new website in the left-hand tree
- Double-click URL Rewrite
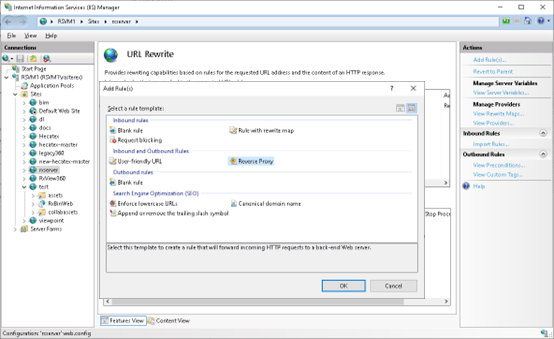
- In the Actions pane, click Add Rules…
- Select Reverse Proxy and click OK
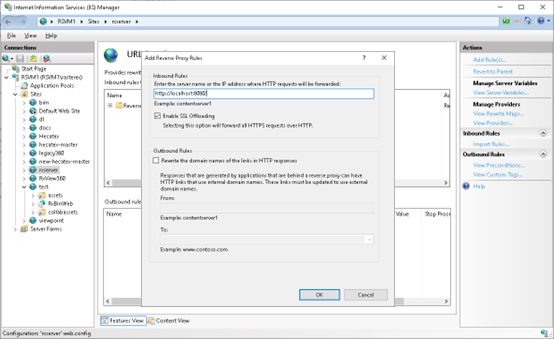
- In the dialog, set the backend address:
http://localhost:8080 - Save the rule
⚠️ Note: Sometimes IIS adds http://http:// in the rule. If so, edit the rule and fix the URL.
5. Test the Setup
- Open a browser and navigate to your public site:
https://rxserver.rasterex.com/ - It should proxy requests to the Node.js backend running at:
http://localhost:8080/
✅ IIS is now configured as a secure reverse proxy for rx-back-end.